Generating a Dynamic Sitemap in Remix

Why Do You Need a Sitemap?
A Sitemap is a file that provides information about the pages, images, and other files on your website. It helps search engines like Google crawl your website more effectively and can improve your SEO. You can learn more about the protocol on the official sitemaps.org website.
Step 1: Create a New (Resource) Route
I started by creating a new file: app/routes/[sitemap.xml].tsx.
The escape syntax [] is part of Remix’s file-based routing system, allowing you to define routes with special characters like .. You can also use app/routes/sitemap[.]xml.tsx instead. Both approaches work—pick whichever makes sense for you. You can learn more about this in the Remix documentation - escape syntax.
Step 2: Write the Loader Function
The Sitemap route is a resource route, meaning it only returns data (in this case, an XML file). It doesn’t render a component. Here’s the loader function to handle GET requests for the Sitemap:
export async function loader() {
  const sitemap = "";

  try {
    return new Response(sitemap, {
      headers: {
        "Content-Type": "application/xml",
        "Cache-Control": "public, max-age=86400", // Cache for a day
      },
    });
  } catch (error) {
    console.error("Error generating Sitemap:", error);

    throw new Response("Internal server error", { status: 500 });
  }
}
This function creates an empty Sitemap for now, returning it with the correct Content-Type and a Cache-Control header to cache it for 24 hours.
Step 3: Generate a Sitemap for Static Pages
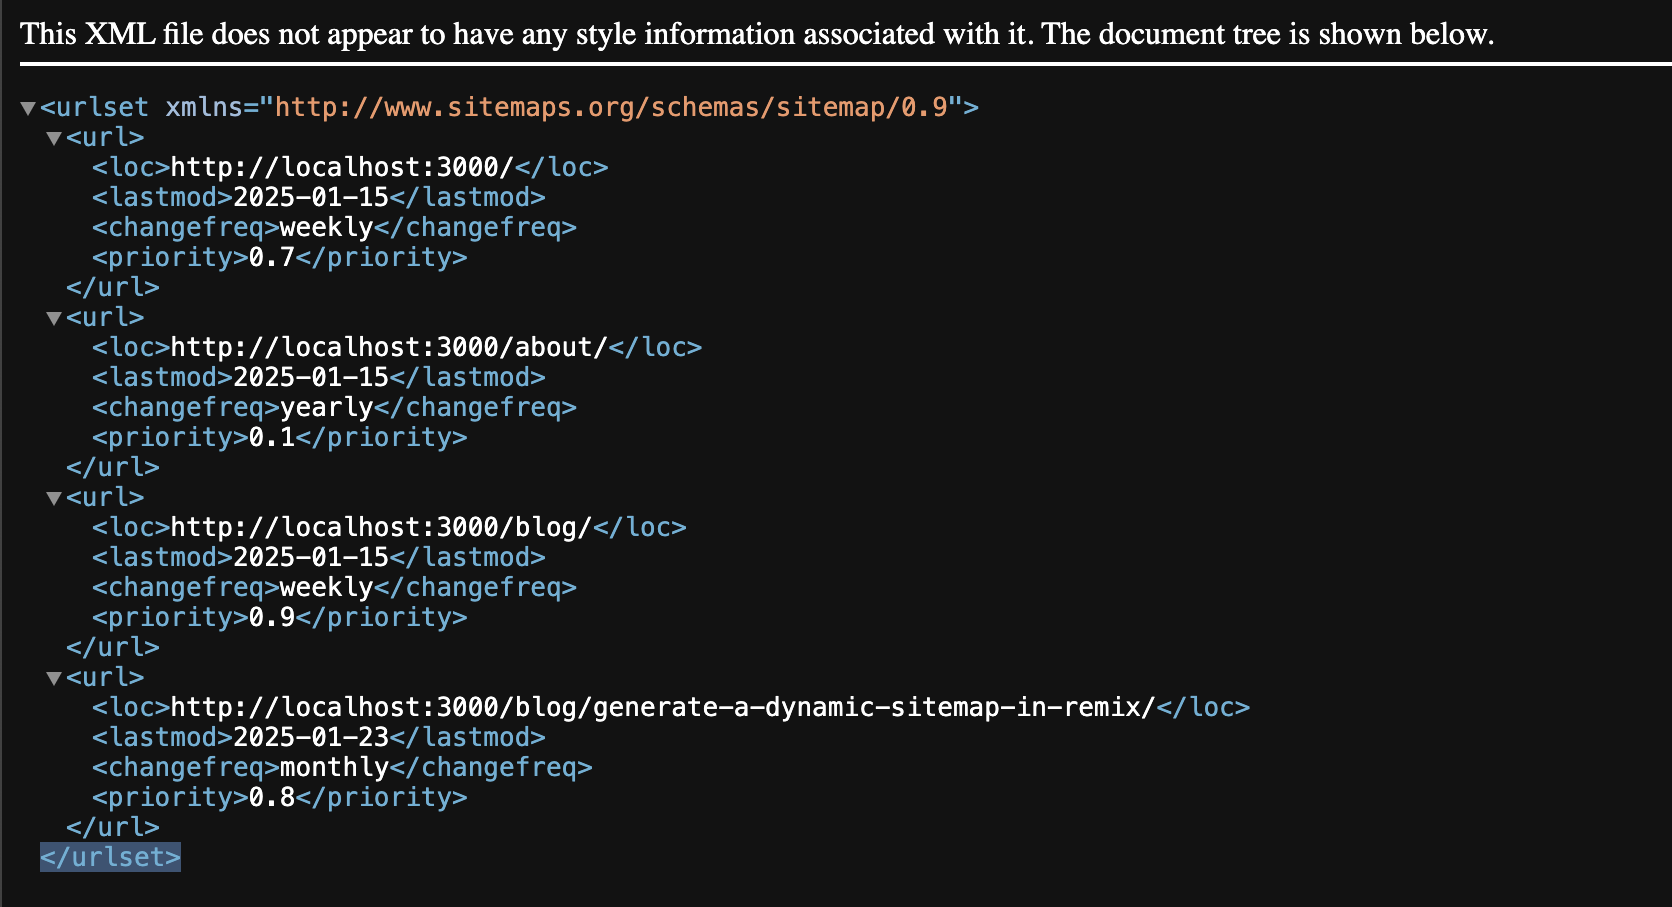
To begin, I created a simple XML structure for the static pages on my website using sitemaps.org website as a guide. Here’s what the original format looked like:
<urlset xmlns="http://www.sitemaps.org/schemas/sitemap/0.9">

<url>
    <loc>${baseUrl}/</loc>

    <lastmod>2025-01-15</lastmod>

    <changefreq>weekly</changefreq>

    <priority>0.7</priority>
</url>

<url>
    <loc>${baseUrl}/about/</loc>

    <lastmod>2025-01-15</lastmod>

    <changefreq>yearly</changefreq>

    <priority>0.1</priority>
</url>

<url>
    <loc>${baseUrl}/blog/</loc>

    <lastmod>2025-01-15</lastmod>

    <changefreq>weekly</changefreq>

    <priority>0.9</priority>
</url>

</urlset>
Once I understood the Sitemap XML format, I stored the page data in an array so I could easily update or add new pages without editing the XML structure.
export async function loader() {
  const staticPages = [
    { loc: "/", lastmod: "2025-01-15", changefreq: "weekly", priority: 0.7 },
    {
      loc: "/about/",
      lastmod: "2025-01-15",
      changefreq: "yearly",
      priority: 0.1,
    },
    {
      loc: "/blog/",
      lastmod: "2025-01-15",
      changefreq: "weekly",
      priority: 0.9,
    },
  ];
  const baseUrl =
    process.env.NODE_ENV === "production"
      ? process.env.BASE_URL
      : "http://localhost:3000";

  const sitemap = `<?xml version="1.0" encoding="UTF-8"?>
  <urlset xmlns="http://www.sitemaps.org/schemas/sitemap/0.9">
    ${staticPages
      .map(
        (page) => `
      <url>
        <loc>${baseUrl}${page.loc}</loc>
        <lastmod>${page.lastmod}</lastmod>
        <changefreq>${page.changefreq}</changefreq>
        <priority>${page.priority}</priority>
      </url>
    `,
      )
      .join("")}
  </urlset>`;

  try {
    return new Response(sitemap, {
      headers: {
        "Content-Type": "application/xml",
        "Cache-Control": "public, max-age=86400", // Cache for a day
      },
      status: 200,
    });
  } catch (error) {
    console.error("Error generating sitemap:", error);

    throw new Response("Internal server error", { status: 500 });
  }
}
Note: If all the pages of your website is static, you could stop here.
Step 4: Add Dynamic Pages to Your Sitemap
If your website includes dynamic pages, you'll want to include them in your Sitemap. Here’s how I added dynamic blog posts to my Sitemap using Prisma:
import { prisma } from "~/.server/db";

export async function loader() {
  const baseUrl =
    process.env.NODE_ENV === "production"
      ? process.env.BASE_URL
      : "http://localhost:3000";

  const staticPages = [
    { loc: "/", lastmod: "2025-01-15", changefreq: "weekly", priority: 0.7 },
    {
      loc: "/about/",
      lastmod: "2025-01-15",
      changefreq: "yearly",
      priority: 0.1,
    },
    {
      loc: "/blog/",
      lastmod: "2025-01-15",
      changefreq: "weekly",
      priority: 0.9,
    },
  ];

  // Fetch blog posts from the database
  const blogPosts = await prisma.blogPost.findMany({
    select: { slug: true, updatedAt: true },
  });

  // Transform blog post data into Sitemap format
  const dynamicPages = blogPosts.map((post) => ({
    loc: `/blog/${post.slug}/`, // Needs trailing '/'
    lastmod: post.updatedAt.toISOString().split("T")[0],
    changefreq: "monthly",
    priority: 0.8,
  }));

  // Combine static and dynamic pages
  const allPages = [...staticPages, ...dynamicPages];

  const sitemap = `<?xml version="1.0" encoding="UTF-8"?>
  <urlset xmlns="http://www.sitemaps.org/schemas/sitemap/0.9">
    ${allPages
      .map(
        (page) => `
      <url>
        <loc>${baseUrl}${page.loc}</loc>
        <lastmod>${page.lastmod}</lastmod>
        <changefreq>${page.changefreq}</changefreq>
        <priority>${page.priority}</priority>
      </url>
    `,
      )
      .join("")}
  </urlset>`;

  try {
    return new Response(sitemap, {
      headers: {
        "Content-Type": "application/xml",
        "Cache-Control": "public, max-age=86400", // Cache for a day
      },
      status: 200,
    });
  } catch (error) {
    console.error("Error generating sitemap:", error);

    throw new Response("Internal server error", { status: 500 });
  }
}
Step 5: Deployment Considerations
When deploying your dynamic sitemap to production, it's important to manage environment variables correctly and ensure your sitemap reflects your live site.
Managing Environment Variables
The loader function uses the following snippet to set the base URL:
const baseUrl =
  process.env.NODE_ENV === "production"
    ? process.env.BASE_URL
: "http://localhost:3000";-
Development vs. Production:
In development, the fallback value
http://localhost:3000is used. In production, make sure to set theBASE_URLenvironment variable to your live domain (e.g.,https://mattmillard.com). -
Setting Environment Variables:
- Local Development: Create a .env file in your project root and add:
BASE_URL="https://mattmillard.com"
.envfile to version control- Production Deployments: Use your hosting platform's environment variable management or secret storage. For example, if you're deploying to Fly.io, you can set the secret via the CLI:
flyctl secrets set BASE_URL="https://mattmillard.com"Additional Considerations
-
Security:Environment variables are kept on the server, so sensitive data like BASE_URL won't be exposed to the client. Always ensure that any sensitive configuration is handled securely.
-
Caching Strategy: The sitemap loader sets a Cache-Control header
(public, max-age=86400)to cache the sitemap for 24 hours. Depending on how frequently your site's content updates, you might need to adjust this value in production. -
Testing in Production: After deploying, verify your sitemap by visiting
https://mattmillard.com/sitemap.xml(or your corresponding live domain). Tools like the XML Sitemap Validator or Google Search Console can help ensure your sitemap is correctly formatted and accessible.
My XML Sitemap code snippet
- Local Development: Create a .env file in your project root and add: